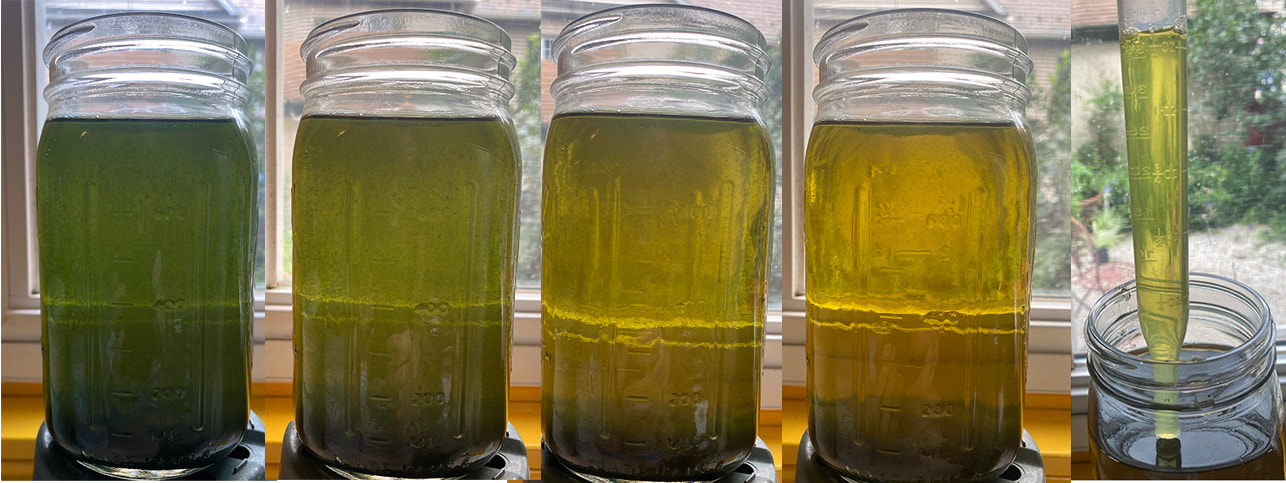
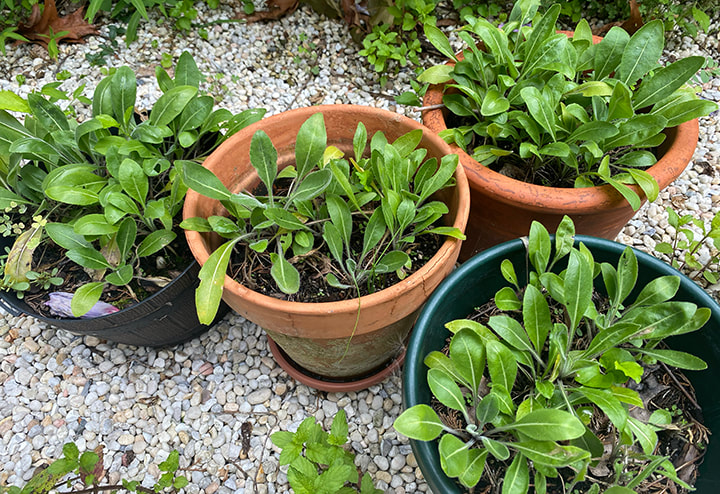
 From left to right, the woad after ph was brought up to 10 and the liquid aerated. It looks green at left because the woad pigment, which is a solid, has not settled to the bottom. The other photos moving to the right are as more of the pigment settled; at right, I'm removing the clear yellow liquid with a turkey baster. Last year I had a bunch of empty flower pots and thought what the heck, let me see what happens if I grow woad in a small flower pot in my backyard-which does not get great sun. I should have harvested it last year, since first year woad is what you’re supposed to harvest. It blooms and goes to seed in the second year. But my back yard woad never flowered this spring, and I was curious if it was even worth harvesting such a small amount of leaves-only 50 grams worth, even though I harvested every leaf from the 4 pots. (See this post for how I process the woad.) The reason I decided to make this post, is that I put it in glass jars and photographed one of them as the woad pigment settled to the bottom of the jar. It’s just a good visual for that part of the process. In the last photo on the right above, I’m removing the yellow liquid with a turkey baster. The yellow is not a dye, it’s very fugitive and needs to get separated from the nice blue pigment. Results? Quite good! Not much quantity, because I had so few leaves, but especially for second year woad which isn’t supposed to work, it was a very rich, intense color. It was so close in quality to my last batch, that I just added what I got from this batch to that one. (My last batch was pictured in this post.woad-over-weeds-at-least-a-momentary-victory.html)
0 Comments
Leave a Reply. |
Cindy VojnovicArtist & Educator Archives
September 2025
Categories
All
|

 RSS Feed