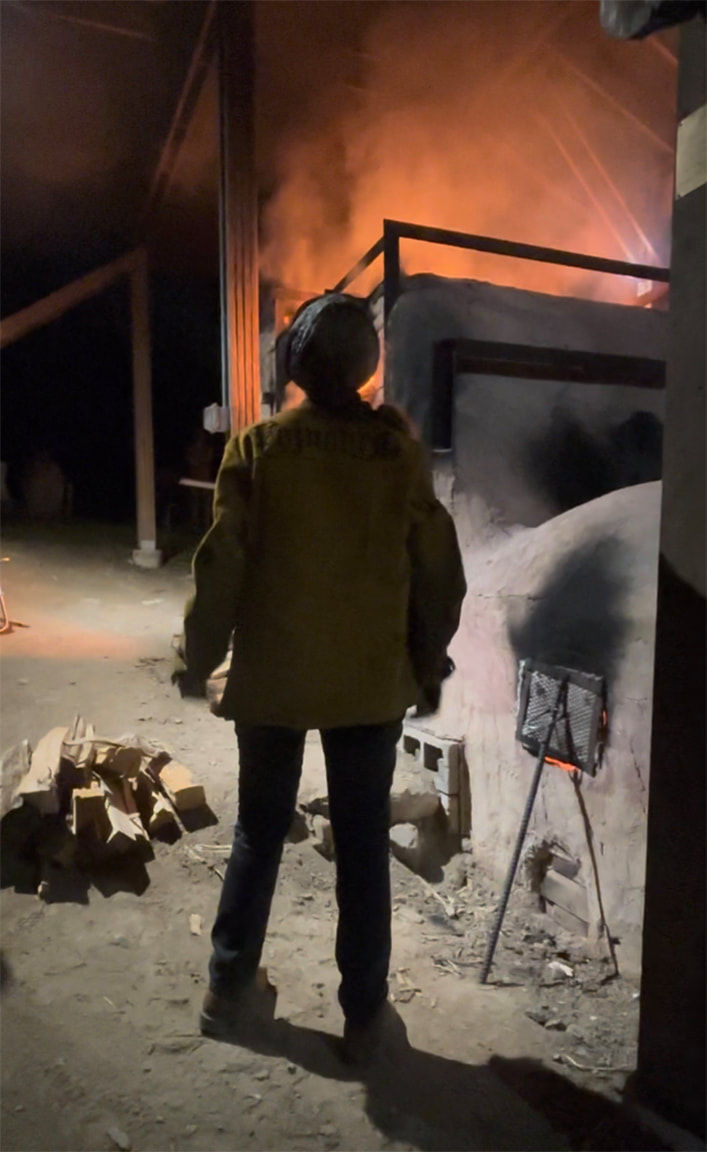
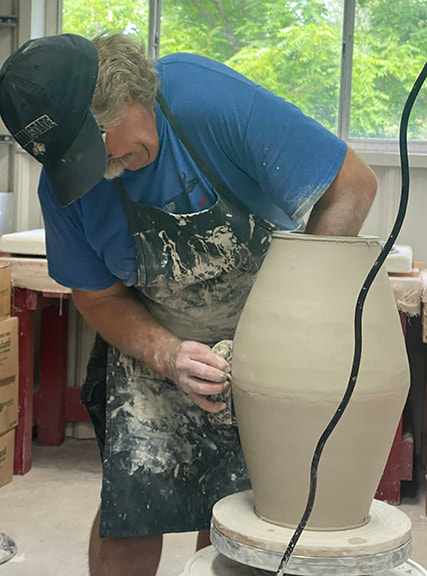
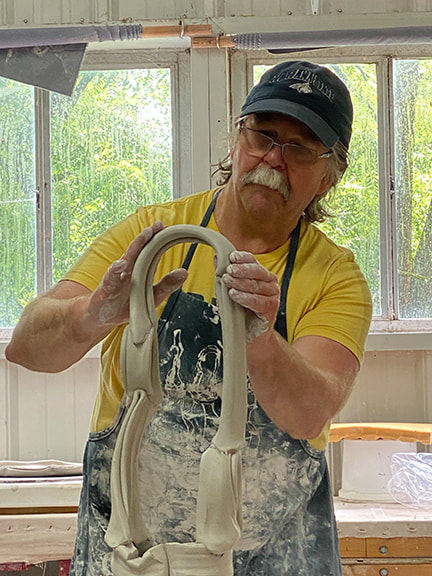
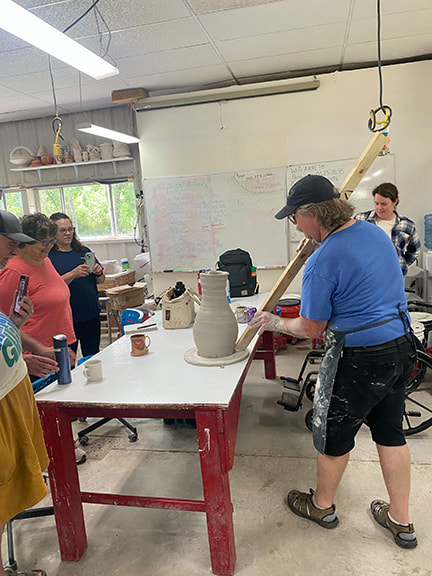
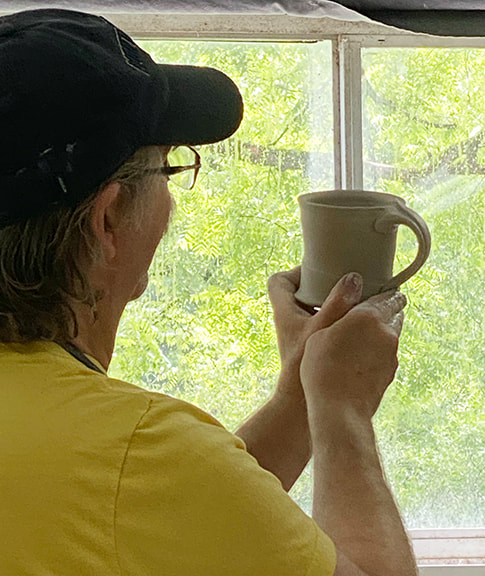
 Me watching the noborigama Kiln at Peter's Valley When Peter’s Valley announced this year’s workshop schedule, I was at first perturbed that they had shifted the firing of their anagama (see dancing with the dragon) from August, before fall semester begins, to mid-October. Then I noticed they had scheduled Josh DeWeese to do a workshop firing the noborigama. Josh DeWeese was a long-time director of the famous Archie Bray Foundation, and is a stellar artist I wanted to work with, so I took the plunge and signed up. 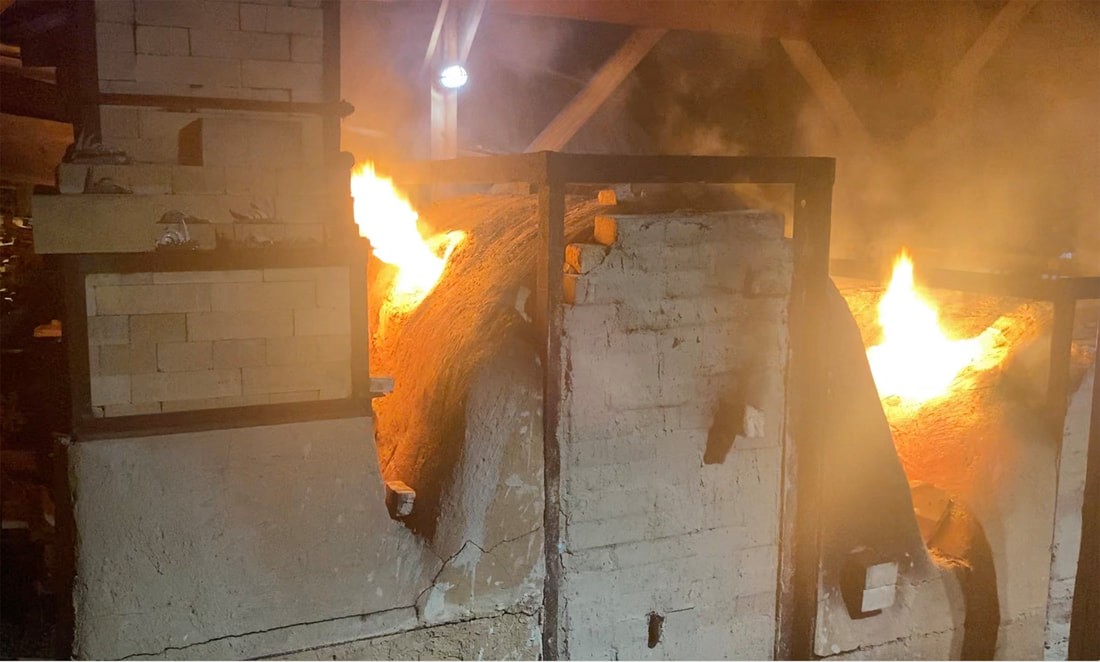 Noborigama kiln, view from the chimney end at the top, looking down on the blowholes of both chambers. When the fire in the blowholes dies down, it's time to stoke with more wood. A noborigama is a multi-chambered wood-fired kiln, and the workshop was shorter than theanagama one so I went in to the workshop expecting a kind of “anagama light” workshop that was essentially loading the kiln and firing it for the whole time. I certainly didn’t expect the actual firing of the kiln to be only 24 hours (after pre-heat) or all the demonstrations. I was expecting that, like the anagama, the outside of the work would be dominated by wood ash deposits turned to glass (glaze) by the heat, and that I would only be applying glaze on the inside of the pots, with little or nothing on the outside. The workshop began with Josh showing us his more elaborate process of glazing, suited to a shorter wood-fire and soda kiln. In the noborigama at Peter’s valley, the first chamber is wood only, and the second chamber is a soda-fire chamber. The soda jacks up the color response and flow of glazes. Applying glaze for that atmosphere (soda) was totally new for me, and to be honest, I didn’t really take advantage of much of the flood of information Josh gave us, especially not on my Medieval inspired vases. There were some in the workshop who did a very good imitation of Josh’s style, and got great pots as a result. But as much as I love Josh’s work-I was thrilled to buy a fabulous pitcher that he used in his glaze demo-but I just couldn’t instantly figure out how what he demonstrated could be used on my Medieval inspired work. Luckily I brought a bunch of mugs that were plain enough in form that I didn’t mind getting more elaborate with the glazing. 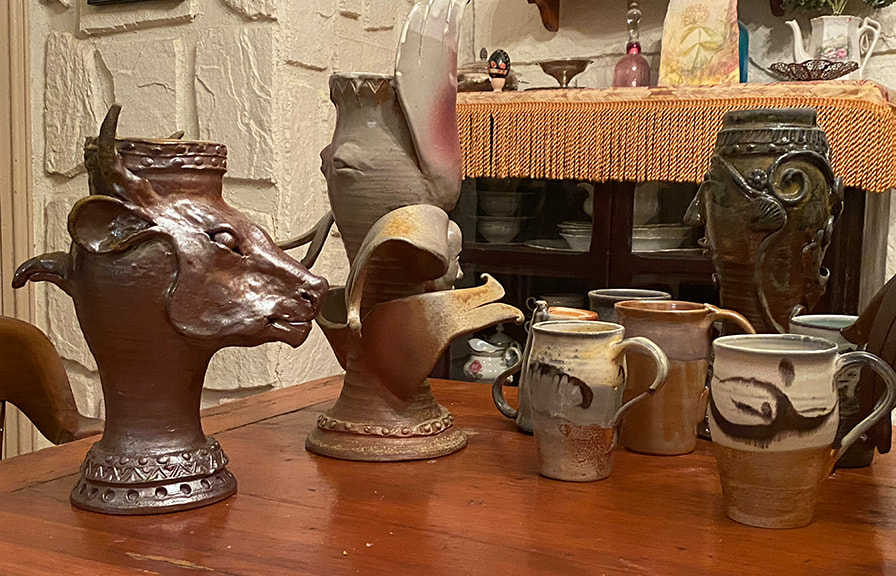 Some of what came out of the kiln, including mugs where I experimented more with the glazes. I have to admit I did a pretty fast down-and-dirty glaze job on my pots, in part because as explained above, I knew I didn’t have the time to fully process how this glazing approach could work for the forms I brought to fire. The other reason was, I wanted to be right there for all the kiln-loading. Loading a wood kiln is a crucial part of the process, and one I’m keen to learn about since I actually get to do that at the NCC East 40 wood kiln. It was so exciting to see my work go into the kiln; it seems that catenary arch kilns just love my work. “I need something tall and skinny” is almost a cliché when loading a catenary arch kiln; my work loves snuggling up to the curved walls of the kiln. When they put in my Hypnos at the top of the arch, I had to snap a photo before all the rest of the work got packed in. 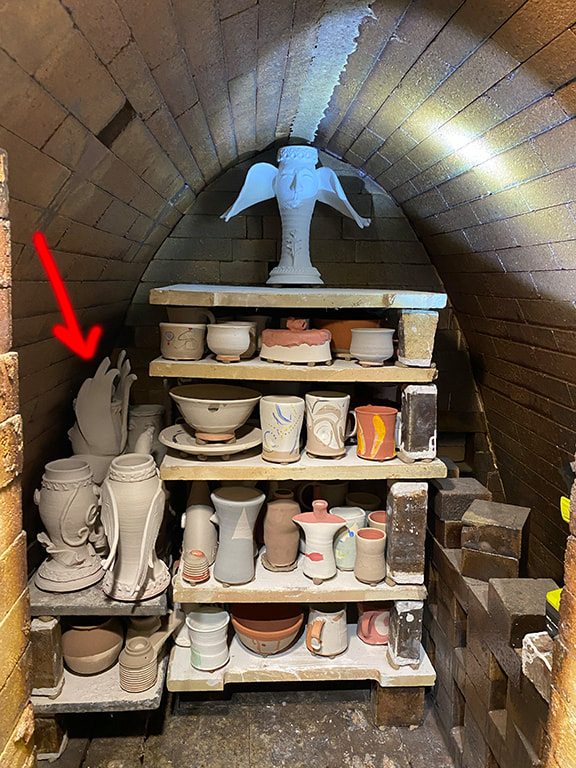 Red arrow pointing to an entire shelf of my work, snuggling into the side of the arch. Hypnos at the top doesn't need an arrow at this point, though later there was of course plenty of worked packed around him. I of course signed up for a double shift in the overnight, and figured if the firing didn’t end on my shift I would just stay until it finished anyway. I can’t lie, it felt a little weird doing a short firing with so many people. Last December I did a 24 hour firing at the NCC wood kiln, but there were way fewer people, and I did the last 17 hours of that firing non-stop. Before my shifts, I did a lot of hanging out at the kiln watching others do all the work, which was very strange for me. Firing the anagama for a full week, everthing happened slower. I felt like by the time I adjusted to the rhythm of this firing, it was over. 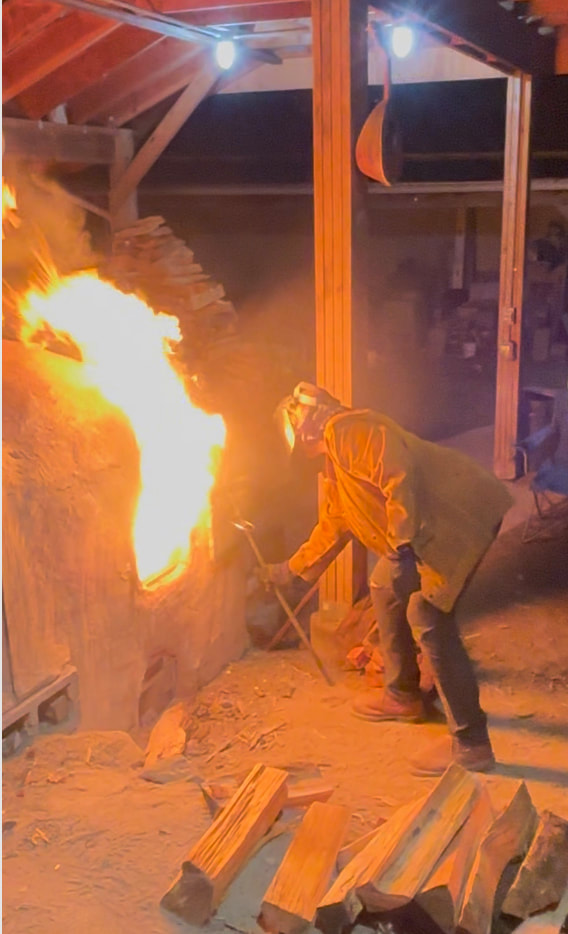 A shorter firing means a shorter cool-down period. After the anagama, we left and came back the next week. But since this was only a 24 hour firing, we stayed while the kiln cooled. That was when Josh DeWeese switched into high gear, spending a whole day and the following morning in a marathon making demo. It made me tired just to watch him, 😂 ! His sense of humor was delightful, I don’t know how he managed to tell fun and illuminating stories while he made incredible work and simultaneously explained what he was doing and gave insightful tips. I frequently botch demos because I’m so busy trying to explain what I’m doing that I can’t do it. (Once I joked I can’t chew gum and walk at the same time, and one of my students, apparently never having heard that expression, took me seriously, and said “really?!”) I absorbed so much from Josh DeWeese!!! Not just technique, or art-but how to make a supportive positive space in which people can best learn. His teaching is nothing short of spectacular, he gets it right from every possible angle. Generosity is the term that springs to mind. He really gave of himself, and he’s got a lot to give.
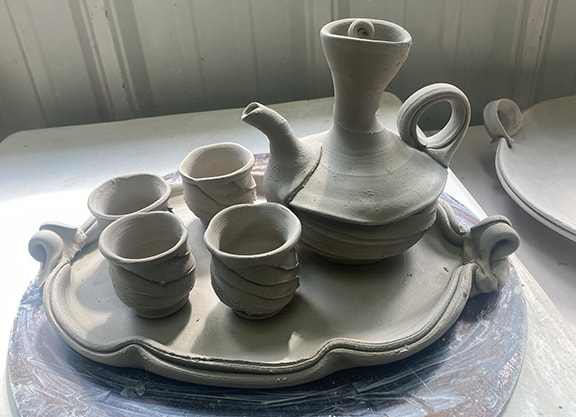 Among the many pieces he made was this "liquor set" including cups, ewer and platter. You can see a giant platter that he made in the upper right hand corner.
When we gathered to unload the kiln, he coached us; “the appropriate response when something comes out of the kiln is Ooh! Ah!!” He had us all reapeat the oohing and aching until we reached an appropriate level of positive enthusiasm. He said not to be dissapointed if something didn’t turn out as expected; to live with it before making judgments. That bit of advice I had heard before, but it is so true with woodfiring in particular. You often get something out of the kiln that is not at all what you were going for-and it can take a while to figure out if that’s a good or a bad thing. 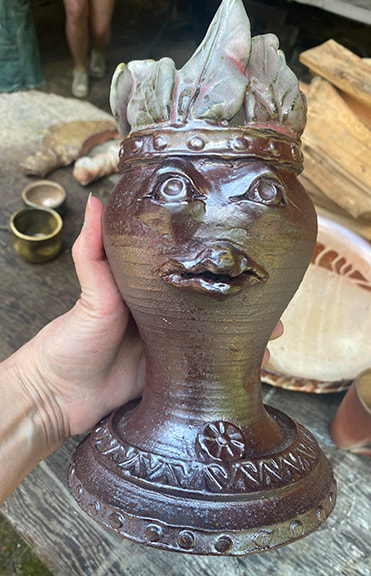 One of my smaller vases, hot out of the kiln. The East 40 clay can totally take over a glaze. I had to apply the glaze at the top on his crown of leaves/feathers incredibly thick for it to show up at all. I felt like the pace of the workshop was perfect. I got enough rest that I could absorb all the new experiences and information like a sponge, but at the same time, there was never a dull moment. I’m still absorbing and working with what I learned, and will be for some time to come.
Finally, the thing that astounded me most about the Josh DeWeese workshop was that it did exactly what a vacation is supposed to do. I felt like I got out of the usual grind, experienced wonder, and gave me time to reflect on just how blessed I really am. It’s now a few weeks since the workshop and I’ve been working a lot, but that feeling is still with me.
0 Comments
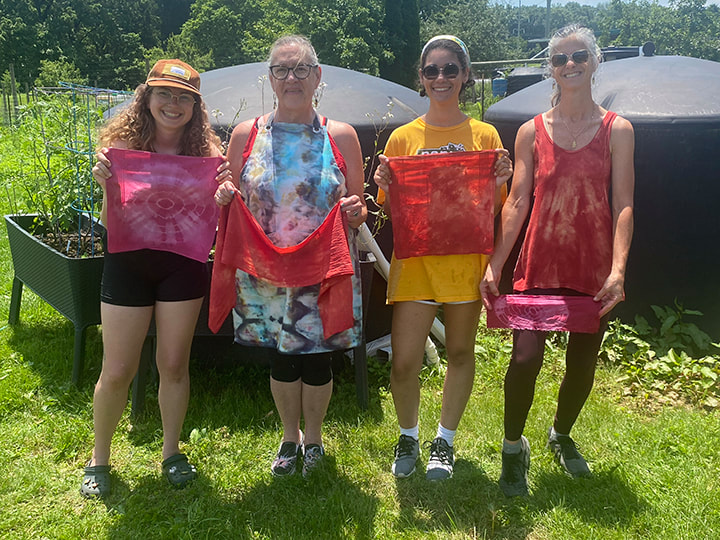 When I began working with natural dyes, I wanted the intense earthy madder root reds I saw in the dye books. But alas, my attempts on cotton were an endless source of frustration and (to me) unsatisfying PINKS, not REDS. Preparing fiber for natural dyes is a protracted and somewhat arduous process. No matter if the fiber is brand new or not, it has to be “scoured” at about 165 degrees with a neutral soap and soda ash for an hour. After that, it has to be thoroughly rinsed. Then the fiber has to be mordanted, aluminum acetate for vegetable fiber such as cotton, alum and cream of tartar for animal fiber such as wool. The fiber sits in a hot bath of the appropriate mordant solution overnight, then once again has to be thoroughly rinsed. But no, that’s not all. The fiber has to be completely dried at this point and after that dipped in a solution of calcium carbonate and rinsed yet again. Adding another step to this fiber prep routine wasn’t at the top of my list of things I wanted to do. But I was so determined to get a good red, that I got ground oak gall and inserted yet another step in the process, pre-mordanting. This involves another hour of simmering (in the oak gall solution) and then, you guessed it, yet another round of rinsing. This pre-mordanting is inserted in-between the scouring and the mordanting. I scoured, pre-mordanted, mordanted and calcium carbonate dunked cotton fabric before dyeing with madder root. It worked. Eureka-bing bing bing!!! At long last, I was able to achieve the deep red that I had always dreamed of on cotton. (Wool is much more agreeable to taking up dye, and I first achieved a good red on wool.) 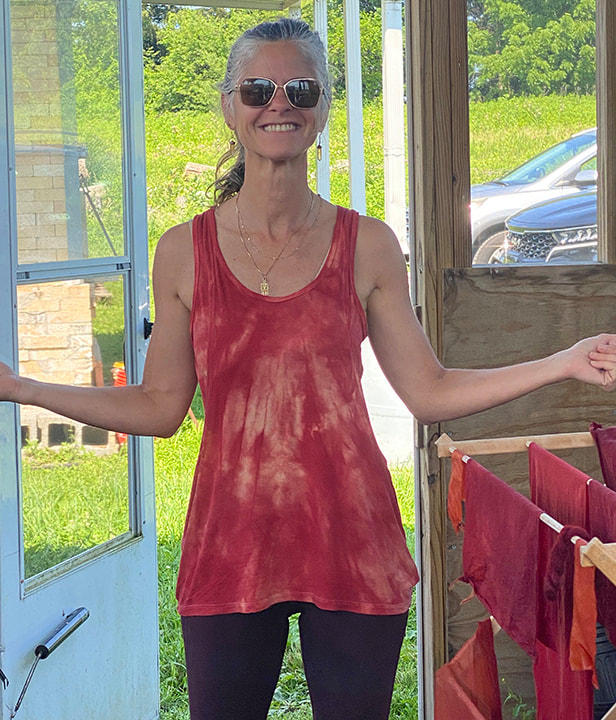 Jen Kimock with a her madder-dyed shirt This year, when I did the Intro to Natural Dyes and fiber prep class, I pre-mordanted with the oak galls. That set the stage for the Reds dye class a few weeks later. To be honest, I had only done tests with the oak gall pre-mordant thing, I had never pre-mordanted with oak galls at a bigger scale. I knew it would work, because I had tested it. But what I didn’t realize, was how much less of the madder root I could get away with using fabrics that got the royal pre-treatment, so to speak, with the oak gall pre-mordanting. The books say for madder that to get an intense red you use as much madder, by weight, as the fabric-a 1:1 ratio, or even madder up to twice the weight of the fabric. The big surprise from this year’s class is just how much the pre-mordant jacked up the power of the dye. We got a really strong red so fast! In the past to get that good a red, I would have to keep the fabric in the dye pot for a week, heating it up again every day. I could have probably used half the weight of madder in proportion to fiber, the pre-mordanting jacked up the color response so much. So the bad news was I used way more (expensive) madder root than I probably needed to. The good news was, the results were great. 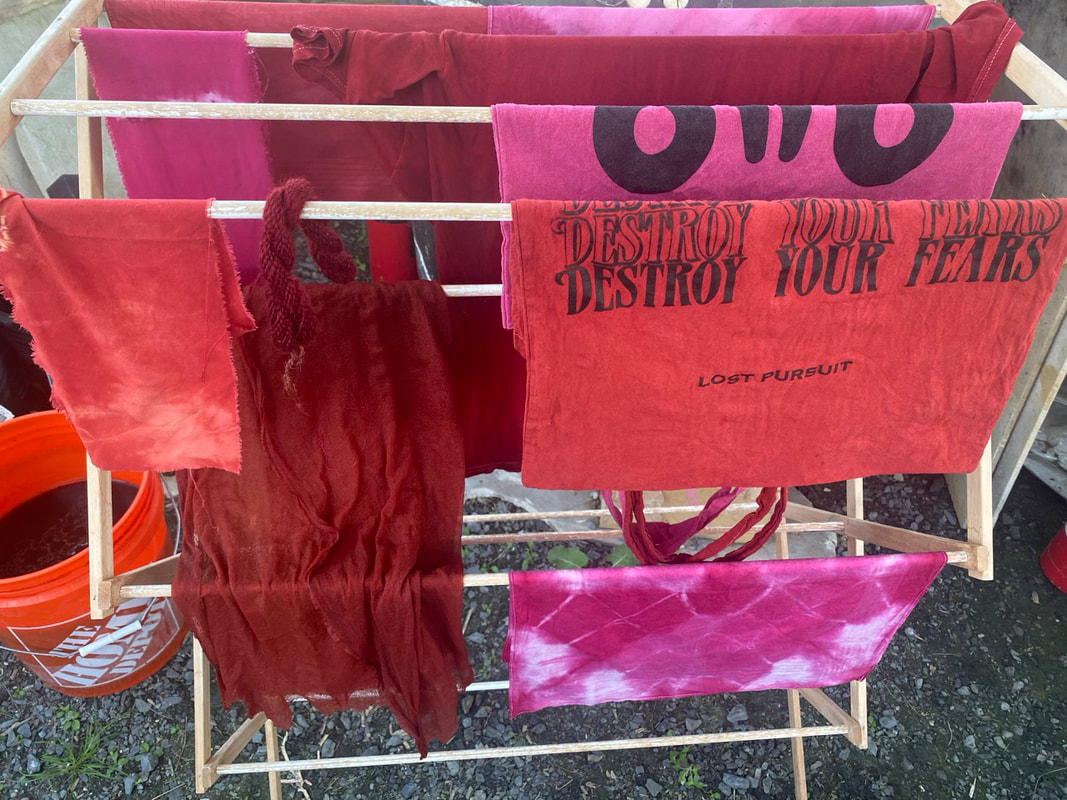 Drying rack with an array of reds from madder root and cochineal beetle natural dyes Cochineal (a South American beetle that grows on prickly pear cactus) was the dye we used on the second day of the workshop. Madder root tends towards the warm side, while cochineal tends towards the cool, magenta/purple side of red. The second day of the workshop, we used cochineal. Many natural dyes take a lot of time and “coaxing”, but cochineal is relatively dramatic and fast. Cochineal can be overdyed on top of madder to get the kind of red you envision from a box of crayons. By its self, cochineal can seem more magenta pink or purple-ish red; or so I thought. In the “goody bag” of prepared fabrics that each student in the workshop received, was a piece of bamboo rayon. (The goody bag also included a cotton bandana, bamboo rayon scarf, wool and a strip of silk charmeuse.) One of these pieces of bamboo rayon by mistake didn’t get taken out of the dye pot until the day after the workshop. The fabric had been tie dyed, and in the sections that were free to absorb dye overnight, the color was far deeper than I am used to seeing with cochineal. I’m not sure if that is due to the length of time in the dye pot, the pre-mordanting with oak gall, or some combination of the two. 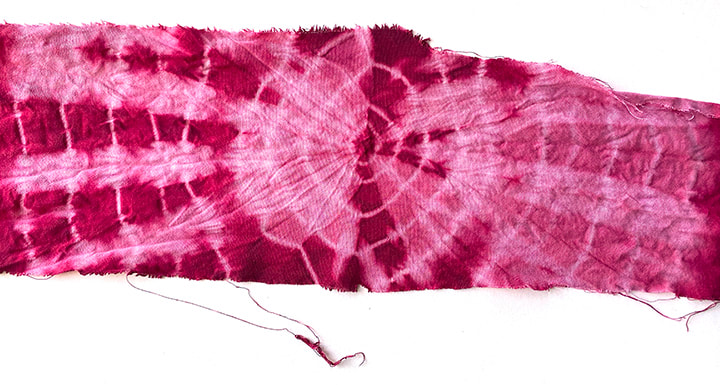 One thing about natural dyes, is there is no end to what you can learn. There are just so many variables that affect the outcome, that the possibilities are endless. This year’s reds class was particularly satisfying! After all the struggles (and failures) I had attempting to get strong reds, this year’s class was a breath of fresh air. It was the only class this year that wasn’t filled to capacity, but the students were so wonderful that it was totally fine.
|
Cindy VojnovicArtist & Educator Archives
September 2025
Categories
All
|
 RSS Feed